
Beneficiaries can apply for PM Vishwakarma Yojana Registration 2025 Online, We are providing all the details For Registration for Incentive & loan.
| Scheme Name | PM Vishwakarma Yojana |
| Government | Govt of India |
| Task | Registration |
| Launched by | Narendra Modi |
| Launch Date | 17 September 2023 |
| Total Beneficiary | 1cr+ Artisans |
| Age Limit | 18 to 60 Years |
| Loan Amount | 1 Lakh/ 2 Lakh |
| Toolkit Incentive | Rs.15,000 |
| Training Stipend | Rs.500 per day |
| Registration Mode | Online |
| Official Website | https://pmvishwakarma.gov.in/ |
PM Vishwakarma Registration 2025
So, you’re heading to the Common Service Centre (CSC) to get signed up for the Vishwakarma scheme. Here’s a simple, no-fluff rundown of exactly what the person helping you will be doing on their computer, step by step.
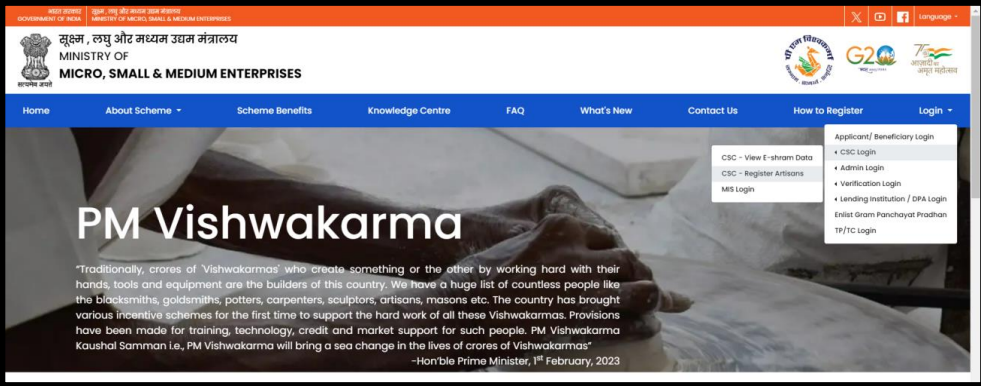
Step 1: First thing, the person at the CSC will pull up the official government website for the scheme.
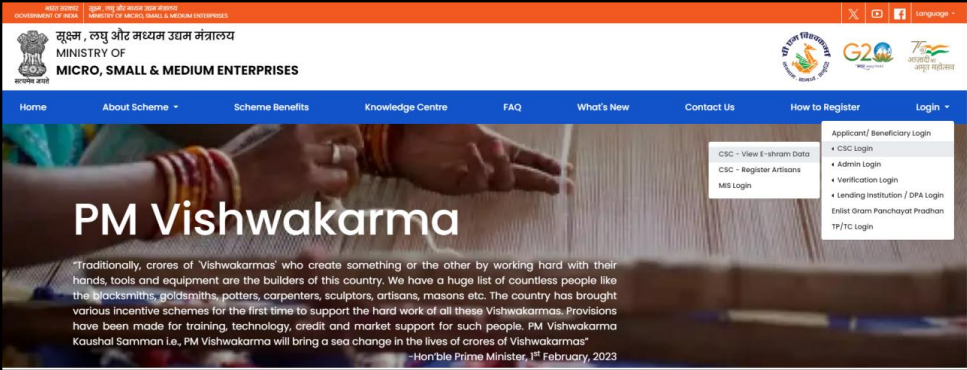
Step 2: They have a special login section. They’ll click on a link that mentions CSC and E-Shram data.
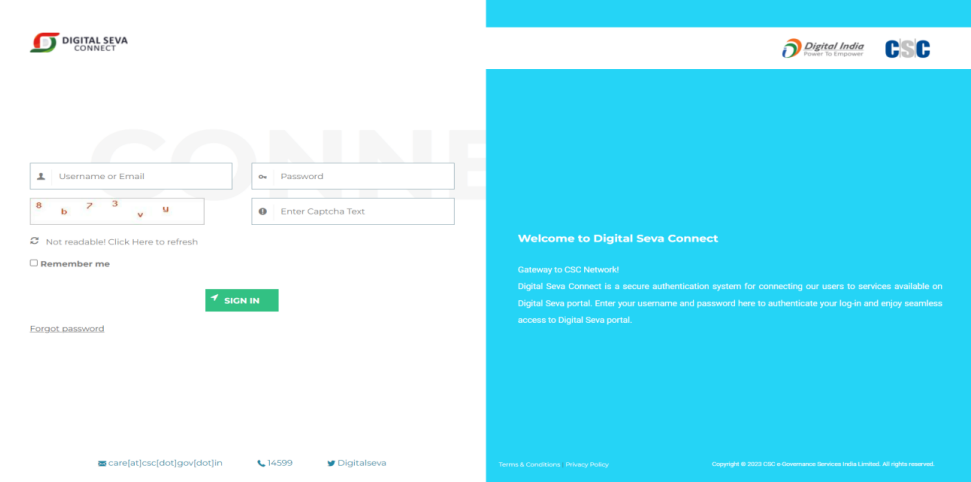
Step 3: You’ll see them type in their own username and password to get into their CSC account.
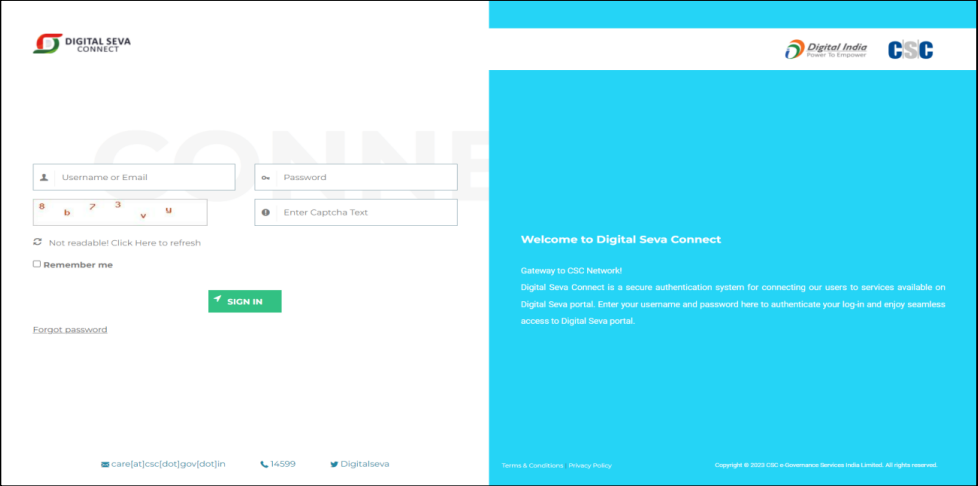
Step 4: This just helps them access the system. It’s a background step that can make things a little faster for you.
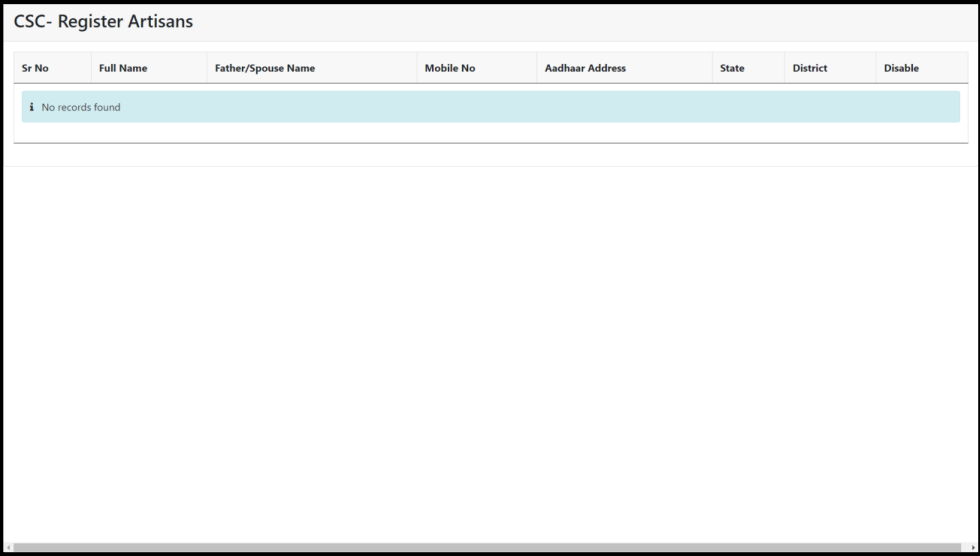
Step 5: Now, to actually start your application, they’ll look for a button that says something like “Register Artisans.”
Step 6: Don’t be surprised if they have to log in again. It’s just an extra security step to open the final application form.
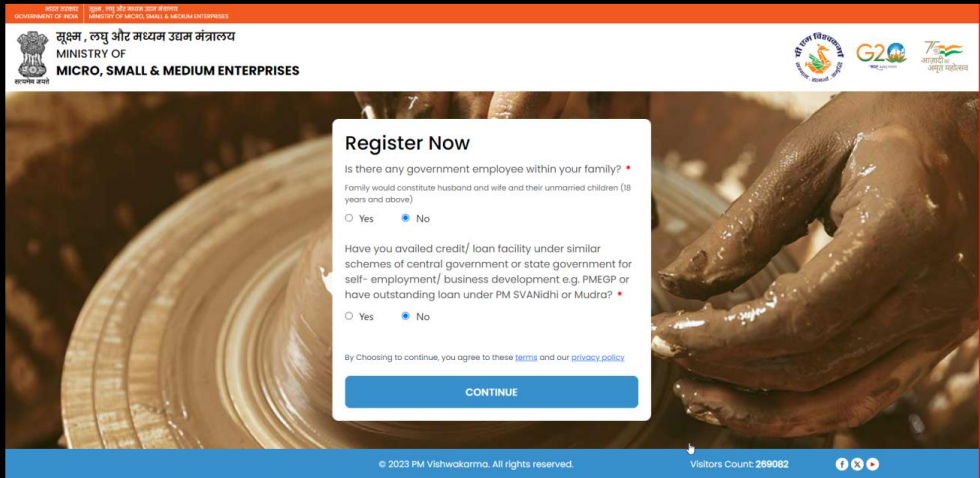
Step 7: Okay, your turn. They’ll ask you two quick questions. One is if you have family in a government job. The other is if you’ve taken a similar government loan before. You’ll need to answer “No” to both.
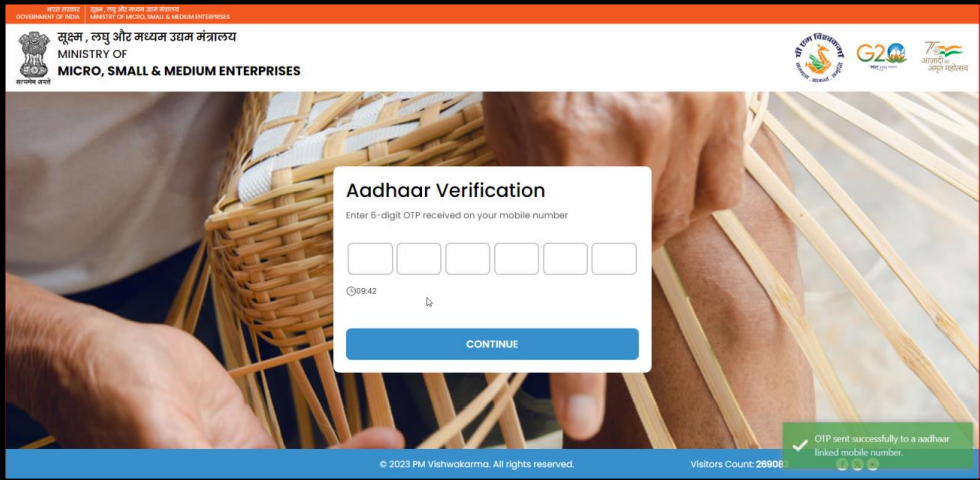
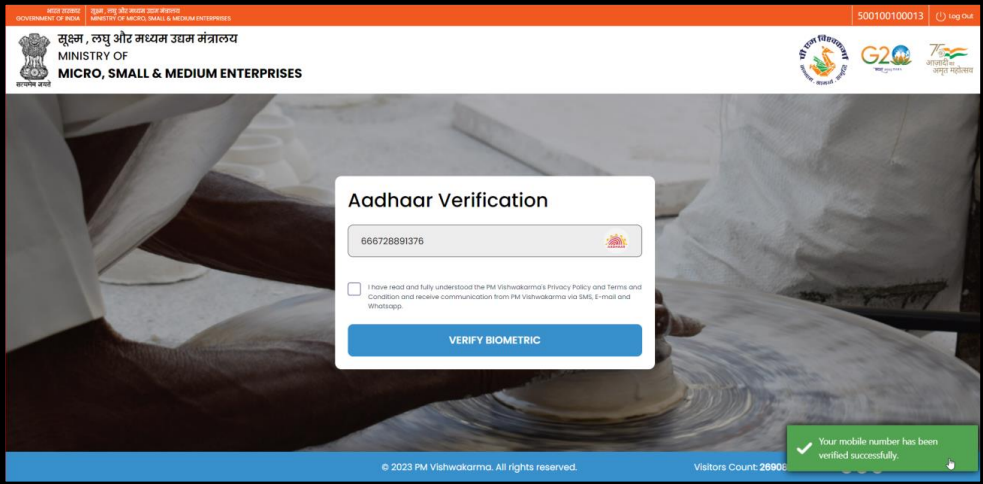
Step 8: Time to prove you are you. Give them your Aadhaar number and your phone. You’ll get a text with a code—just read that code out to them. Then, you’ll place your finger on a small scanner. That’s it.
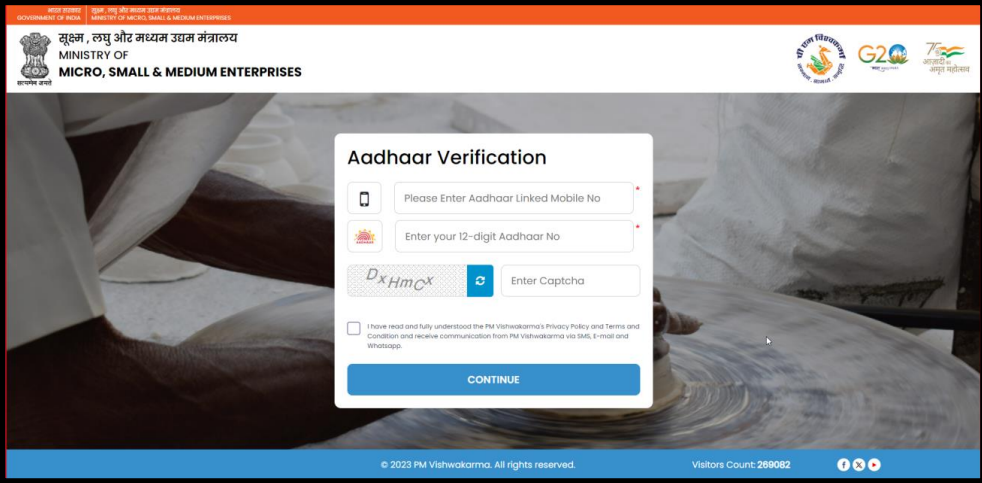
Perform Aadhaar authentication using biometric. Click on the “Biometric” button and complete the biometric authentication.
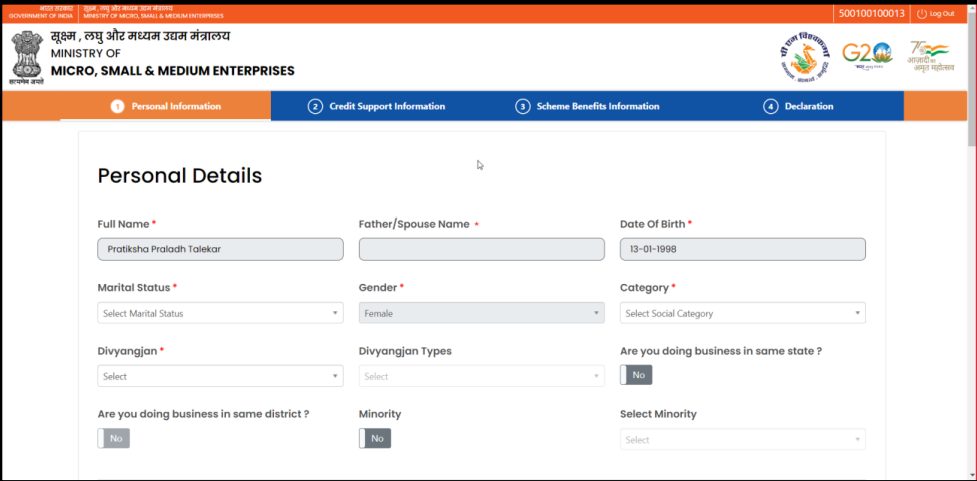
Step 9: Here’s the cool part. Your name, birthday, and other stuff will just show up on the screen automatically from your Aadhaar. You’ll just need to tell them if you’re married and what your social category is (Gen/SC/ST/OBC).
Step 10: The next box is for your contact info. Your phone and Aadhaar number will already be there. If you have a PAN card, tell them the number and they’ll type it in.

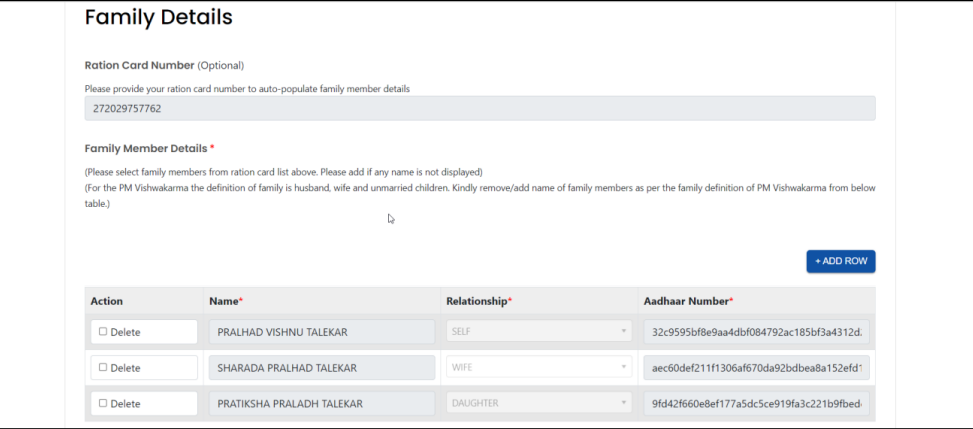
Step 11: Now, for your family. Give them your Ration Card number. Sometimes, this will magically fill in your family’s names. If it doesn’t, no biggie, they’ll just add them for you.
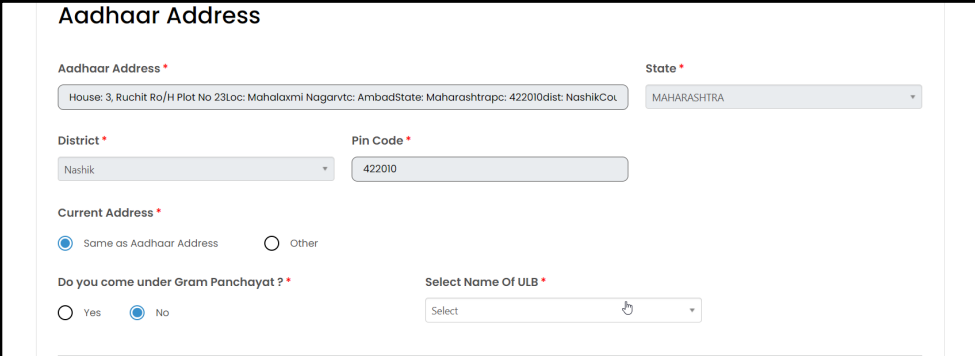
Step 12: The screen will show your address from your Aadhaar card. If you still live there, just let them know which local Panchayat or town council you fall under.
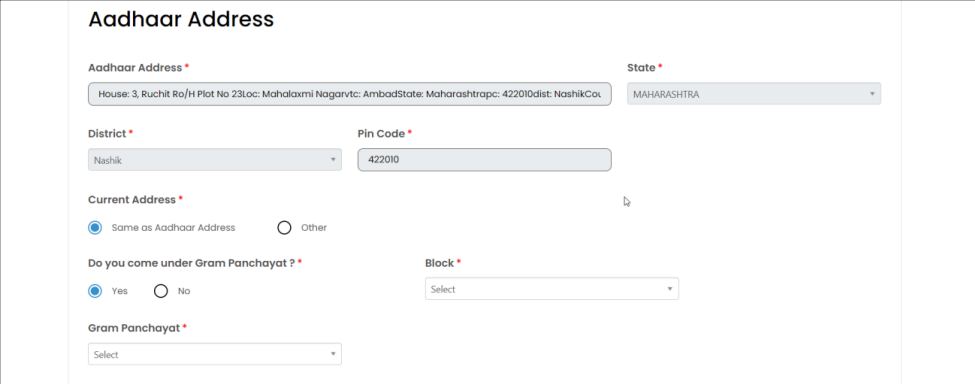
If the artisan belongs to an urban area, select No for “Do you come under Gram Panchayat” and then select the ULB Name.
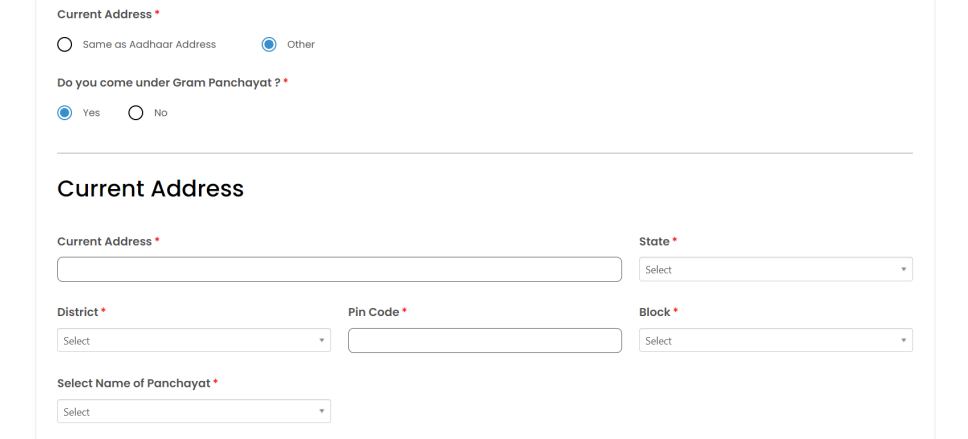
Step 13: If you’ve moved and your address is different, just tell them. They’ll choose the “Other” option and type in your current address.
Step 14: Let’s talk about your craft. You’ll pick your trade from a list on the screen. Then tell them where you do your work – at home, or in a separate shop.
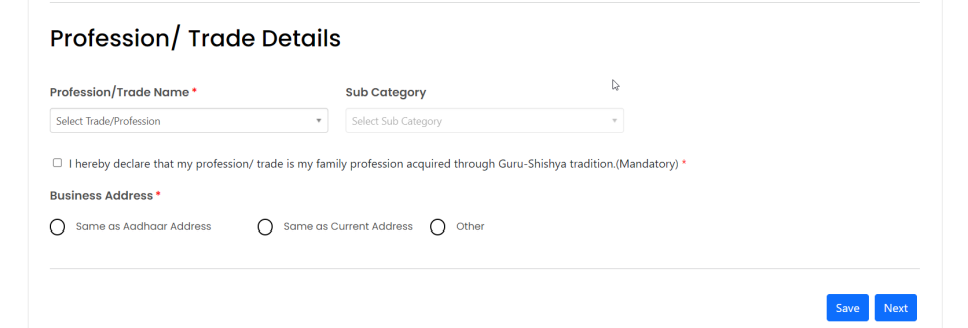
If the business address is different from both the Aadhaar address and current address, select the “Other” option and enter the business address.

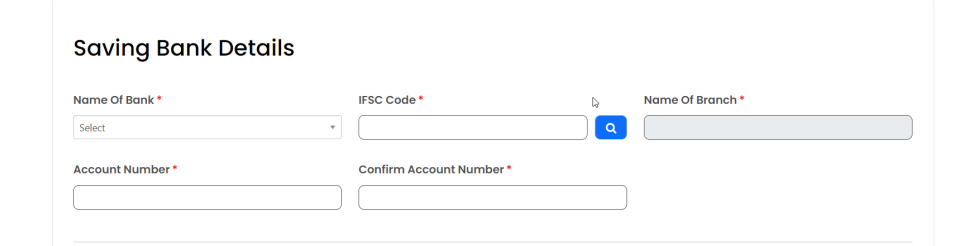
Step 15: Time to talk money. They’ll need your bank account number and the branch’s IFSC code. Make sure to double-check the numbers with them so there are no mistakes.
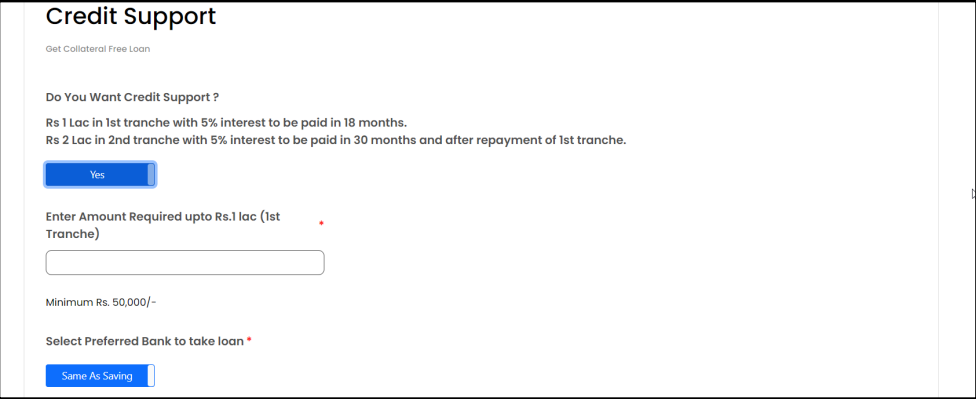
Step 16: They’ll ask if you’re interested in a loan. You can say yes, or that you might want one later. If you say yes, you can decide how much you need to start.
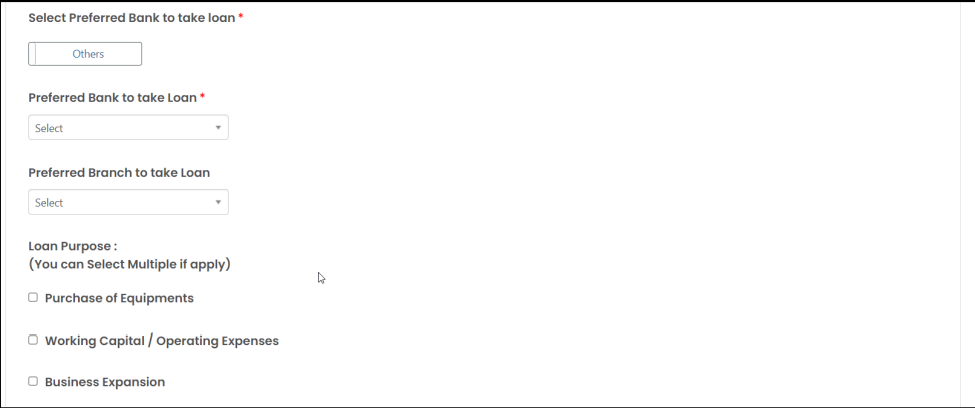
If the artisan wants to take a loan from a different bank branch, select “Other” and choose the bank and branch from where the artisan wants to take the loan. Then, select the purpose of the loan, enter any existing loan outstanding information (if applicable), and provide the total monthly family income.

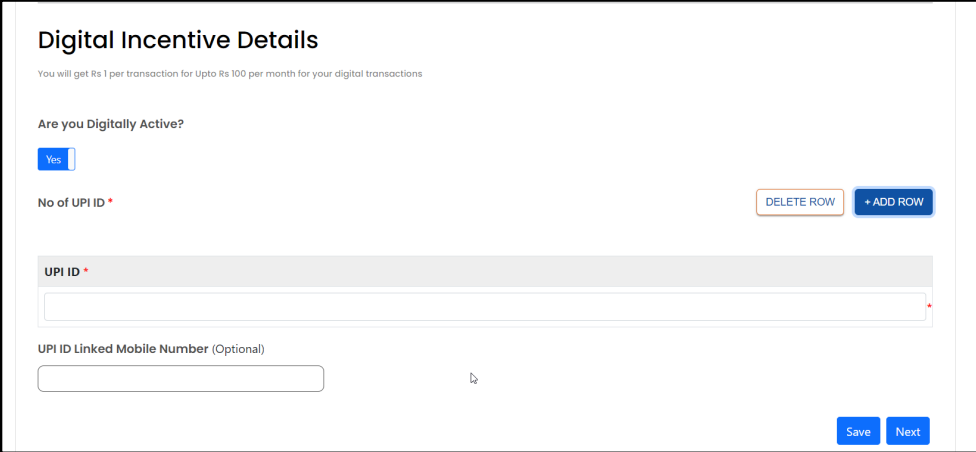
Step 17: Do you use apps like Google Pay or PhonePe? If you do, tell them your UPI ID. They can put it in the system for you.
Step 18: The person helping you will quickly go over the perks, like free training (where you even get paid a bit for attending) and money to buy new tools.
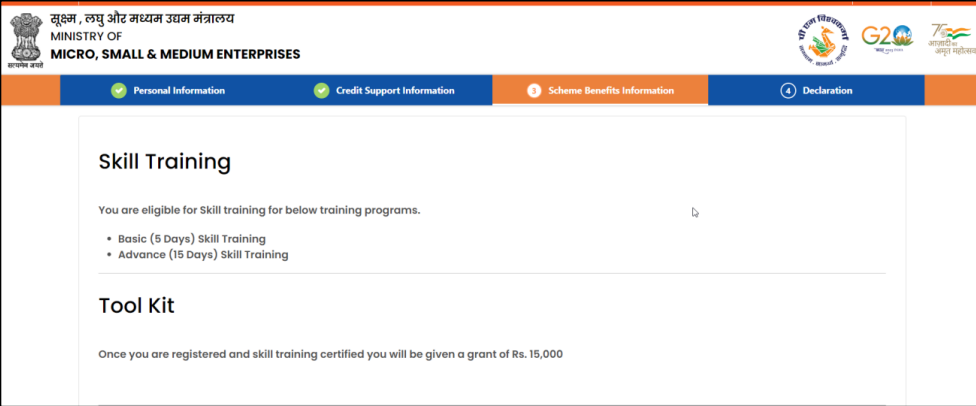
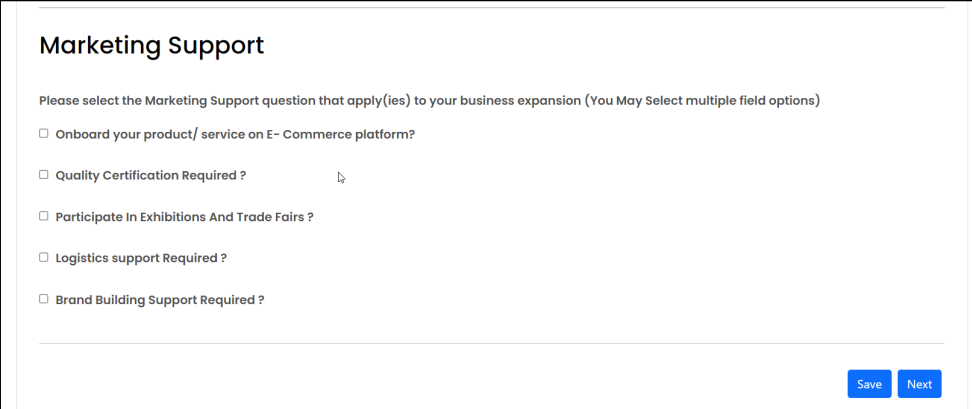
Step 19: You’ll also see a list of ways the scheme can help you sell your products. You just have to pick the options that sound good to you.
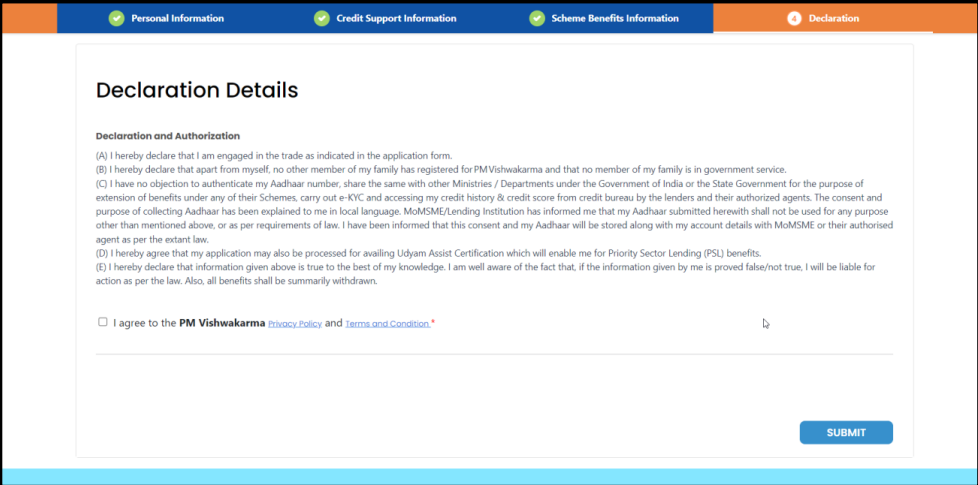
Step 20: Almost done. You just have to agree to the terms and conditions. The operator will check the final box for you.
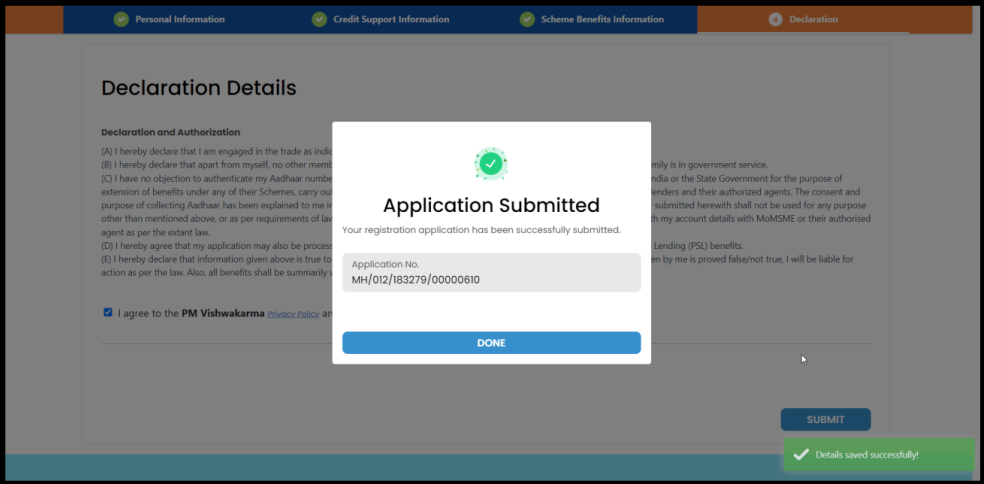
Step 21: And that’s it. They’ll hit the submit button, and a registration number will pop up. Snap a picture of it with your phone or write it down. You’ll need it later.
Important Link of pmvishwakarma.gov.in Registration
| Registration Link | Click Here |
| Eligibility Criteria | Click Here |
| Required Documents | Click Here |
| Official Website | Click Here |